
 Pin
Pin
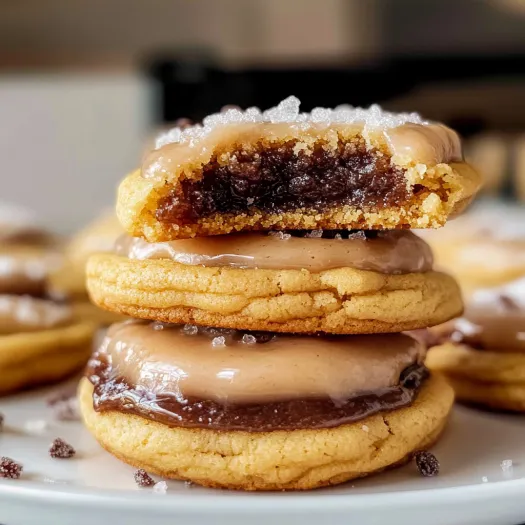
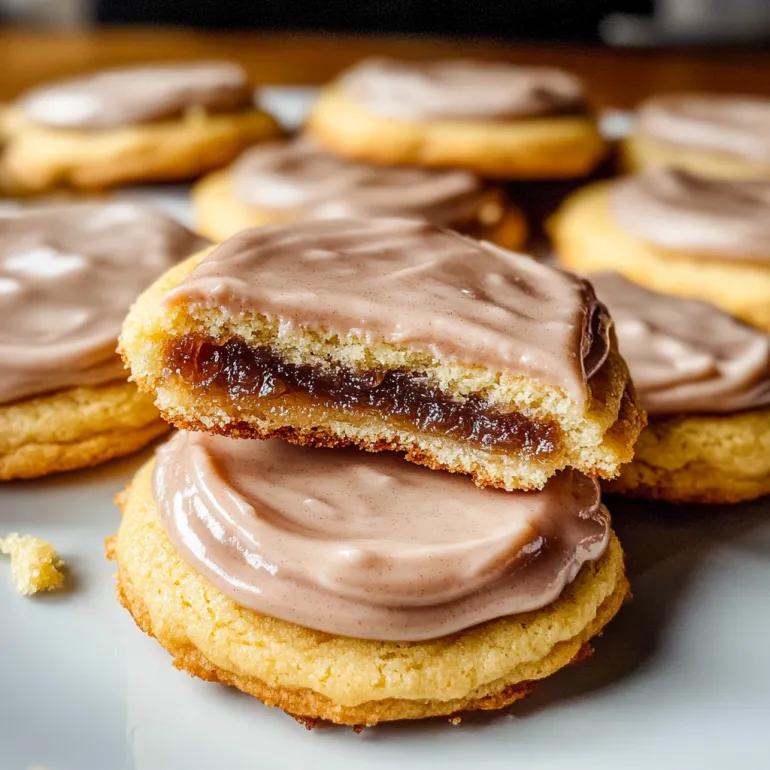
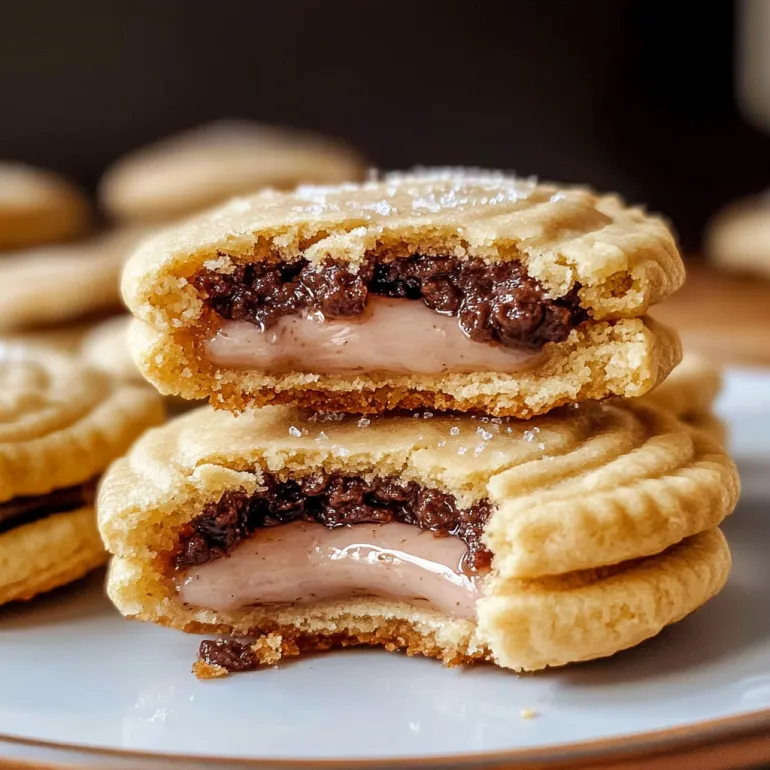
This brown sugar pop tart cookie recipe transforms the nostalgic breakfast treat into a bakery-worthy cookie. The soft brown sugar cookies encase a gooey cinnamon filling and get topped with a sweet cinnamon glaze that perfectly mimics the classic pop tart experience but in cookie form.
I developed this recipe during a nostalgic baking phase where I wanted to recreate childhood flavors but elevate them. After several attempts to nail the right balance of cookie texture with that signature pop tart filling, these became an instant hit at family gatherings.
Ingredients
- Unsalted butter: Room temperature provides the perfect tender texture and rich flavor. Quality butter makes a noticeable difference here.
- Light brown sugar: Creates that signature pop tart flavor in both the cookie and filling. Make sure it’s fresh and not dried out for best results.
- Cake flour: Gives these cookies their delicate tender crumb. If you only have all-purpose you can use it but the texture won’t be quite the same.
- Cornstarch: Is the secret ingredient that keeps these cookies soft and prevents them from spreading too much.
- Cinnamon: Adds that warm signature flavor in both the filling and glaze. Choose a high quality Ceylon cinnamon for the best flavor profile.
- Vanilla extract: Enhances all the other flavors. Use pure extract rather than imitation for the best results.
Step-by-Step Instructions
- Cream the Butter and Sugars:
- Begin by beating room temperature butter with both sugars for a full 2 to 3 minutes until noticeably lighter in color. This extended beating time incorporates air into the mixture which helps create the perfect cookie texture. The mixture should look fluffy and almost mousse-like before moving on.
- Add Eggs and Vanilla:
- Add room temperature eggs and vanilla and continue beating for another 1 to 2 minutes. This step is crucial for building the structure of the cookies. If your eggs are cold they can cause the butter mixture to curdle so make sure they are truly at room temperature.
- Combine Dry Ingredients:
- Whisk together all dry ingredients in a separate bowl to ensure even distribution of leavening agents. This prevents any concentrated pockets of baking soda or baking powder which could create bitter spots in your cookies.
- Mix Wet and Dry Ingredients:
- Add the dry ingredients to the wet and mix until just combined stopping to scrape the bowl as needed. Overmixing at this stage can develop too much gluten resulting in tough cookies so be careful not to beat too long.
- Chill the Dough:
- Cover the dough and refrigerate for one hour. This chilling period firms up the butter which prevents excess spreading and deepens the flavor development. The dough will be easier to handle after chilling making the stuffing process much more manageable.
- Prepare the Filling:
- Mix all filling ingredients until smooth and roll into small balls. The filling should be cohesive but not too stiff. This preparation ahead of time makes the assembly process much more efficient.
- Stuff the Cookies:
- Divide each cookie dough portion in half, create a well for the filling, and seal it inside completely. Be thorough when pinching the seams closed to prevent filling from leaking during baking which can cause cookies to spread unevenly.
- Bake to Perfection:
- Bake until the edges are just turning golden but the centers still look slightly underbaked. This ensures a soft chewy texture that mimics the tenderness of a pop tart. Overbaking will result in crunchy cookies which isn’t the goal for this recipe.
- Glaze the Cookies:
- Once cooled, top with cinnamon glaze allowing it to drip down the sides. The glaze should be thin enough to spread easily but thick enough to set and not completely soak into the cookie. Let it set before stacking or storing.
 Pin
Pin
The cake flour is truly my favorite element in this recipe. After testing with various flour combinations I found that cake flour creates that perfect tender crumb that mimics the soft pastry texture of actual pop tarts. The first time I served these at a family brunch my nephew declared them better than the packaged version which is high praise from a picky ten-year-old.
Make Ahead Options
These cookies are perfect for planning ahead. The dough can be prepared up to three days before baking and kept refrigerated. Let it sit at room temperature for about 30 minutes before shaping to make it easier to work with. The filling can also be made ahead and refrigerated separately just bring it to room temperature before assembling.
For longer storage, freeze the assembled but unbaked cookies on a baking sheet then transfer to freezer bags once solid. You can bake them directly from frozen adding just a couple extra minutes to the bake time. Having a stash of these ready to bake is perfect for unexpected guests or late night cravings.
Common Troubleshooting
If your cookies spread too much during baking, the butter was likely too warm. The butter should be cool to the touch around 65°F which is softer than refrigerated but not completely soft. Another cause could be not chilling the dough long enough which is essential for preventing spread.
For cookies that turn out too cakey, check your measuring technique for the flour. Too much flour results in cakey rather than chewy cookies. Use the spoon and level method for measuring or ideally use a kitchen scale for precision.
If the filling leaks out during baking, you likely didn’t seal the cookie dough completely around the filling. Take extra care to pinch all seams closed and roll the dough ball between your palms to ensure it’s fully sealed. Also make sure your filling isn’t too soft which can happen if your kitchen is very warm.
Flavor Variations
While the classic brown sugar cinnamon is nostalgic and delicious, you can easily adapt this recipe. Try a strawberry version by replacing the cinnamon filling with strawberry jam mixed with a little cornstarch. For chocolate lovers, add mini chocolate chips to the filling mixture along with the brown sugar and cinnamon.
During fall, transform these into pumpkin pop tart cookies by adding pumpkin pie spice to both the dough and filling. For a festive holiday twist, incorporate crushed candy canes into the glaze instead of cinnamon for a peppermint variation that everyone will love.
 Pin
Pin
Frequently Asked Questions About the Recipe
- → Can I make these cookies ahead of time?
Yes! You can prepare the dough in advance and either refrigerate it for up to 3 days before baking, or freeze the stuffed cookie dough balls for up to 3 months. When ready to bake from frozen, simply add 1-2 minutes to the original bake time.
- → Why did my cookies spread too much?
The most common cause of flat cookies is butter that's too warm. Room temperature butter should only sit out for 1-2 hours and still feel cool to the touch (around 60°F). Also, make sure to chill the dough for at least one hour before baking.
- → Can I use all-purpose flour instead of cake flour?
Yes, though the texture will be slightly different. For each cup of cake flour needed, you can substitute with 1 cup minus 2 tablespoons of all-purpose flour mixed with 2 tablespoons of cornstarch. Sift them together before using.
- → How do I know when the cookies are done baking?
The cookies are done when the tops are just set and the edges are lightly golden brown, typically after 11-13 minutes of baking. They may look slightly underdone in the center, but they'll continue to set as they cool.
- → How should I store these cookies?
Store the cookies in an airtight container at room temperature for up to 3 days or in the refrigerator for up to a week. You can also freeze baked cookies (without icing) for up to 3 months - just thaw overnight in the fridge and add the icing before serving.
- → Can I add different flavors to these cookies?
Absolutely! While the cinnamon-brown sugar filling mimics the classic breakfast pastry flavor, you could experiment with adding ingredients like mini chocolate chips, finely chopped nuts, or even a fruit jam center for different variations.