 Pin
Pin
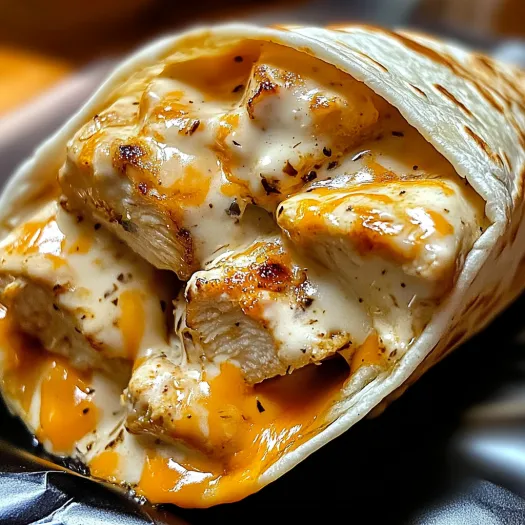
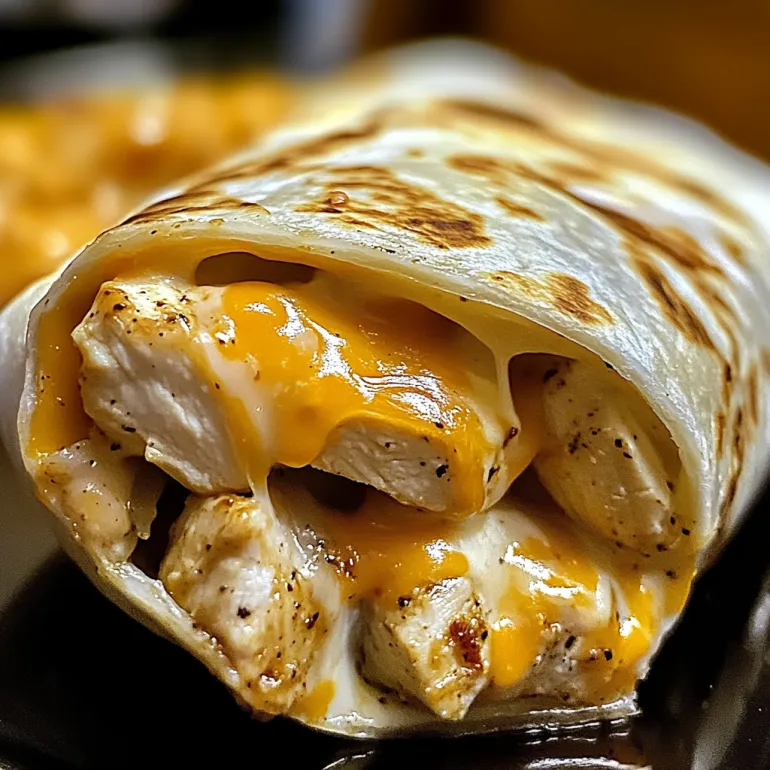
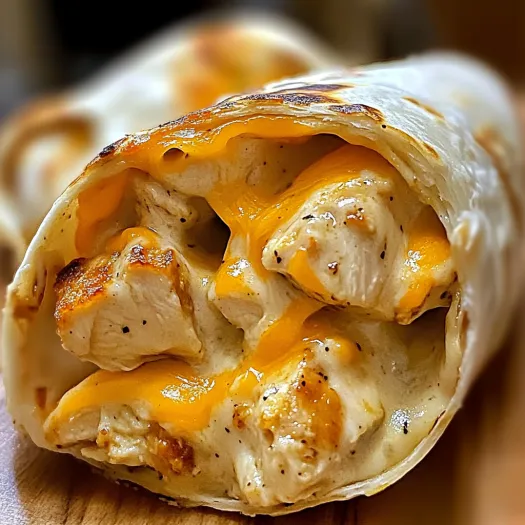
This cheesy garlic chicken wrap recipe transforms simple ingredients into a mouthwatering meal that satisfies even the pickiest eaters. The combination of tender chicken, melted cheese, and aromatic garlic creates a flavor explosion that keeps my family requesting these wraps week after week.
I first made these wraps during a busy weeknight when I needed something quick yet satisfying. What started as a simple way to use leftover chicken has become our go to comfort food that everyone at the table gets excited about.
Ingredients
- Cooked chicken provides the protein foundation. Rotisserie chicken works beautifully for convenience and added flavor
- Mozzarella or cheddar cheese creates that irresistible melty texture. I prefer a blend of both for the best flavor profile
- Cream cheese adds creaminess and binds everything together. Make sure it's at room temperature for easy mixing
- Butter enhances the garlic flavor and helps create a golden exterior on the wraps
- Garlic fresh minced cloves provide that aromatic base that makes these wraps special
- Sour cream contributes tanginess and moisture to the filling
- Garlic powder reinforces the garlic flavor throughout the mixture
- Italian seasoning adds herbaceous notes that complement the other flavors
- Large tortillas serve as the perfect vessel. I recommend flour tortillas for their flexibility and durability
- Salt and pepper for essential seasoning balance
- Fresh parsley optional but adds a pop of color and freshness
Step-by-Step Instructions
- Sauté the Garlic
- Begin by melting butter in a skillet over medium heat. Add your minced garlic and cook for exactly 1 2 minutes until it becomes fragrant and just begins to turn golden. Watch carefully during this stage as garlic can go from perfectly cooked to burnt in seconds. This aromatic base will infuse the entire dish with rich garlic flavor.
- Heat the Chicken
- Add your cooked chicken to the skillet with the garlic butter. Sprinkle with garlic powder, Italian seasoning, salt, and pepper. Stir continuously to coat each piece of chicken with the seasonings and allow the flavors to marry together. The chicken should heat through completely, about 3 4 minutes. This step ensures the seasonings permeate the protein.
- Create the Cheese Mixture
- In a separate bowl, combine softened cream cheese, sour cream, and half the shredded cheese. Mix until completely smooth with no lumps remaining. The softened cream cheese should incorporate easily, creating a luscious, creamy base. This mixture will bind everything together and create that indulgent cheesy texture.
- Combine Components
- Remove the skillet from heat and transfer the seasoned chicken to the cheese mixture. Fold everything together gently but thoroughly, ensuring each piece of chicken is coated with the cheese mixture. The warm chicken will slightly melt the cheese, creating the perfect consistency for filling.
- Assemble Your Wraps
- Lay out each tortilla on a clean surface. Divide the chicken cheese mixture evenly among them, placing it in the center of each tortilla. Sprinkle the remaining shredded cheese on top of each portion. Fold the sides of each tortilla over the filling, then roll from the bottom up, creating a tight wrap. Proper rolling technique keeps all the delicious filling contained.
- Cook to Golden Perfection
- Heat a clean skillet over medium heat. Place each wrap seam side down and cook for 2 3 minutes until golden brown. Flip carefully and cook the other side until equally golden and the cheese inside has melted completely. The outside should be crispy while the inside remains molten and gooey.
 Pin
Pin
The garlic butter is truly the star ingredient in this recipe. I discovered its power when I accidentally tripled the garlic in a batch once. Instead of ruining the dish, it elevated it to new heights, creating what my husband now calls garlic heaven in every bite. This happy accident has become our signature family version of the dish.
Make Ahead and Storage
These wraps are perfect for meal prep. You can prepare the filling completely and store it in an airtight container in the refrigerator for up to three days. When ready to serve, simply warm the filling, assemble the wraps, and cook them fresh. This method ensures the tortillas stay crispy rather than becoming soggy.
For already assembled and cooked wraps, store them wrapped in foil in the refrigerator for up to two days. Reheat in a 350°F oven for about 10 minutes or in a skillet over medium low heat until warmed through. Avoid microwaving if possible as it can make the tortillas soggy rather than crispy.
Customization Options
The beauty of these wraps lies in their adaptability. Try incorporating spinach or roasted red peppers for added vegetables and color. Substitute the Italian seasoning with taco seasoning for a Mexican inspired variation, or add buffalo sauce to the chicken for a spicy kick.
For a lower carb option, use lettuce leaves instead of tortillas or try low carb tortilla alternatives. The filling is delicious enough to stand on its own or can be served over rice or cauliflower rice for a deconstructed bowl version.
Serving Suggestions
These cheesy garlic chicken wraps pair perfectly with a light side salad to balance the richness. I recommend a simple arugula salad with lemon vinaigrette for brightness that cuts through the creamy filling.
For a more substantial meal, serve alongside vegetable soup or roasted vegetables. Sweet potato fries or regular french fries also make an excellent accompaniment for a more indulgent dinner option that everyone will love.
 Pin
Pin
Frequently Asked Questions About the Recipe
- → Can I make these wraps ahead of time?
Yes! You can prepare the filling up to 2 days ahead and store it in the refrigerator. When ready to serve, simply warm the filling, assemble the wraps, and cook them until golden and crispy. You can also fully assemble the uncooked wraps and refrigerate them for a few hours before cooking.
- → What's the best way to reheat leftover wraps?
For the best texture, reheat leftover wraps in a skillet over medium-low heat for 2-3 minutes per side until warmed through. This maintains the crispy exterior. Alternatively, use an air fryer at 350°F for 3-4 minutes. Avoid microwaving if possible, as it can make the tortillas soggy.
- → Can I use flour tortillas instead of large tortillas?
Absolutely! Standard flour tortillas work perfectly for this dish. Choose 8-10 inch tortillas for the best results. Corn tortillas are not recommended as they tend to crack when rolled with this hearty filling.
- → What sides pair well with these wraps?
These wraps pair wonderfully with a simple green salad, roasted vegetables, or sweet potato fries. A side of salsa, guacamole, or additional sour cream makes great dipping options. For a complete meal, serve with a light soup like tomato basil or chicken tortilla.
- → How can I make these wraps spicy?
To add heat, incorporate diced jalapeños or a pinch of red pepper flakes to the chicken mixture. You could also include a tablespoon of hot sauce, chipotle in adobo, or cayenne pepper to taste. Another option is serving them with spicy salsa or hot sauce on the side.
- → Can I use a different protein instead of chicken?
Yes! This versatile dish works well with shredded pork, ground beef, turkey, or even flaked white fish. For a vegetarian option, substitute the chicken with sautéed mushrooms, black beans, or crumbled firm tofu seasoned with the same spices.
