
 Pin
Pin
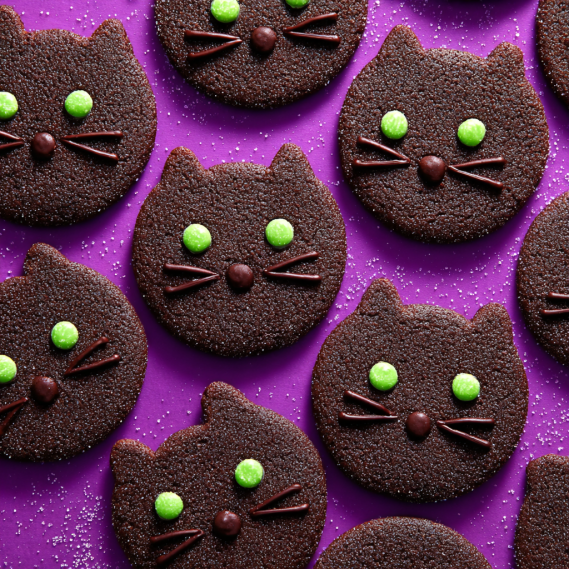
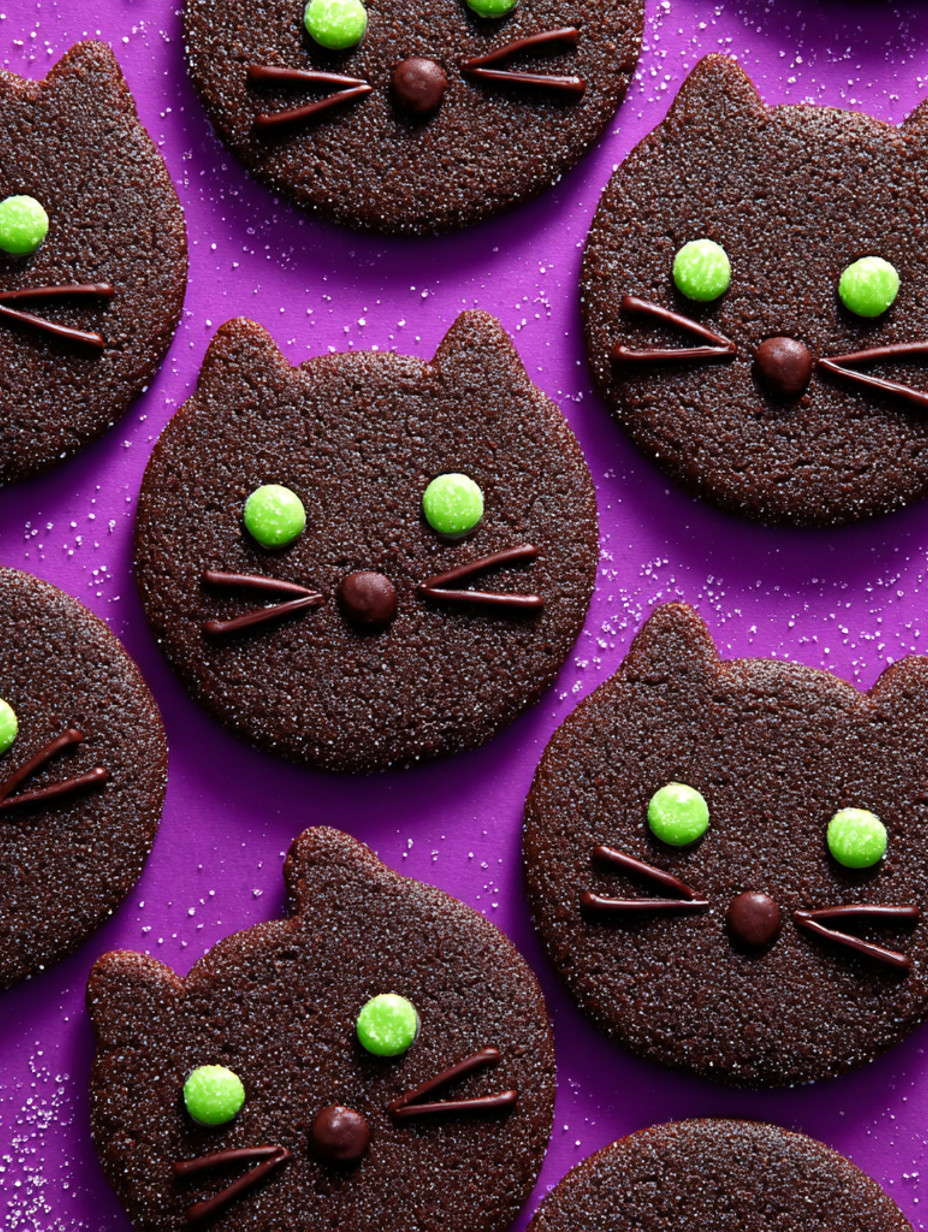
Every October calls for a batch of these Hocus Pocus Binx cookies to honor the most magical black cat around. Featuring a chewy chocolate base and decorated with almonds and MMs for the sweetest feline faces you ever baked they are a whimsical treat for movie nights or fall parties. Over the years this recipe has become my go to for Halloween gatherings with both kids and adults grabbing for seconds
Every Halloween my kids ask for Binx cookies and their friends always want to help decorate the little cat faces. I love how this recipe lets everyone get creative with fun edible decorations
Ingredients
- All purpose flour: gives the cookies structure and softness look for unbleached high quality flour for best results
- Black cocoa powder: creates the deep black color and rich chocolate flavor Dutch processed works well if you cannot get true black cocoa
- Baking soda: helps the cookies rise and gives them that light crisp edge check your box is fresh for best effectiveness
- Kosher salt: balances sweetness and brings out chocolatey flavors use flaky or fine salt as you prefer
- Granulated sugar: ensures a tender crumb and golden edges superfine sugar yields an even texture
- Unsalted butter: adds richness and chew let it soften fully for easy mixing
- Light brown sugar: keeps the cookies moist and imparts caramel notes pack it in your measuring cup to avoid dry cookies
- Large egg: binds everything together and boosts chewiness choose the freshest local eggs you can find
- Pure vanilla extract: rounds out the flavors real extract adds depth compared to imitation
- Sanding sugar: adds a magical sparkle and crisp shell clear coarse sugar works best
- Sliced raw almonds: double as cat eyes choose unbroken oval slices for a realistic look
- Semisweet chocolate chips: melt for piping features opt for a brand that melts smoothly
- Mini green MMs: create Binx’s striking eyes get extra in case a few roll away
- Mini brown MMs: finish the little chocolatey noses
Step-by-Step Instructions
- Mix Dry Ingredients:
- In a medium bowl whisk flour black cocoa powder baking soda and salt until evenly combined breaking up any lumps in the cocoa
- Cream Butter and Sugars:
- In a large bowl beat together granulated sugar softened butter and brown sugar using an electric mixer on medium high speed. Beat until the mixture is light fluffy and creamy at least 3 minutes. This creates an airy base for soft cookies
- Incorporate Egg and Vanilla:
- Add the egg and mix until fully blended. Pour in vanilla extract and beat until no streaks remain
- Combine with Dry Ingredients:
- Add the whisked dry mixture to the wet mixture. Beat on low until just combined with no flour pockets. Overmixing can make your cookies tough
- Chill the Dough:
- Cover the bowl tightly with plastic wrap or a lid and refrigerate 30 minutes at minimum or up to 2 days. Chilling lets flavors meld and makes shaping the cookies much easier
- Shape and Coat the Dough:
- Use a medium cookie scoop or spoon to portion out 24 scoops of chilled dough. Roll each portion into a 1 inch ball. Roll balls in sanding sugar for full coverage and set onto parchment lined baking sheets about 2 inches apart. Gently flatten each ball into a 2 inch circle
- Form the Cat Ears:
- With reserved dough pinch off 24 small 1/2 inch balls. Roll each in sanding sugar then place two on top edge of each flattened circle for ears. Pinch gently to form pointed ear shapes
- Add Eye Detail:
- Lay two almond slices on each cookie flat side down points facing in to resemble Binx’s eyes
- Bake the Cookies:
- Bake in a preheated oven at 350 degrees F for 8 to 10 minutes until edges are just set and centers look slightly underdone. Cool on sheet for 5 minutes then transfer to a wire rack to finish cooling
- Decorate Faces:
- Melt chocolate chips in a microwave safe bowl using 10 second bursts and stirring until smooth. Transfer to a small piping bag or a zip top bag with the corner cut off. Pipe a chocolate dot in the center of each almond and press a green MM on for eyes. Add a chocolate dot below for the nose and press a brown MM in place. Pipe two chocolate whiskers on each side of the face. Allow chocolate to set before serving
 Pin
Pin
If I had to pick a favorite part I would say decorating the faces with my children Each year they try new expressions and get so creative with the almond and MM placement It always turns into the silliest messiest hour
Storage Tips
Once fully cooled keep these cookies in an airtight container at room temperature for three days. For longer storage freeze undecorated cookies in freezer safe bags for up to a month. Thaw them overnight and decorate fresh for best results
Ingredient Substitutions
If you cannot find black cocoa powder use extra Dutch processed cocoa for a rich but less dramatic chocolate color. Swap the almonds for white chocolate chips if there are nut allergies. For the eyes and noses you can use colored royal icing or other small candies
Serving Suggestions
These cookies are perfect with hot chocolate or apple cider during Halloween movie marathons. Arrange on a large platter with other themed treats like Jello shots or marshmallow pops for a full party spread
Cultural Context
Inspired by the legendary Binx from Hocus Pocus these cookies are a playful nod to the films beloved feline familiar. The tradition of baking character cookies turns classic movie nights into memorable hands on fun for all ages
 Pin
Pin
Frequently Asked Questions About the Recipe
- → What gives these cookies their dark color?
The deep, rich color comes from black cocoa powder, which differs from regular cocoa by being heavily dutched and alkalized, offering an intense black hue and smooth flavor.
- → How do I shape the cookies to look like cats?
The dough is portioned into balls, flattened, and extra smaller balls form ears. Almond slices create eyes, and melted chocolate with small candies completes the facial details.
- → Can I prepare the dough in advance?
Yes, chilling the dough for at least 30 minutes or up to two days helps develop flavor and ease shaping the cookies.
- → What texture should I expect from these cookies?
Expect a chewy interior with slightly crispy edges, offering a pleasant contrast in every bite.
- → How should I store these cookies after baking?
Keep them in an airtight container at room temperature for up to three days to maintain freshness and texture.