
 Pin
Pin
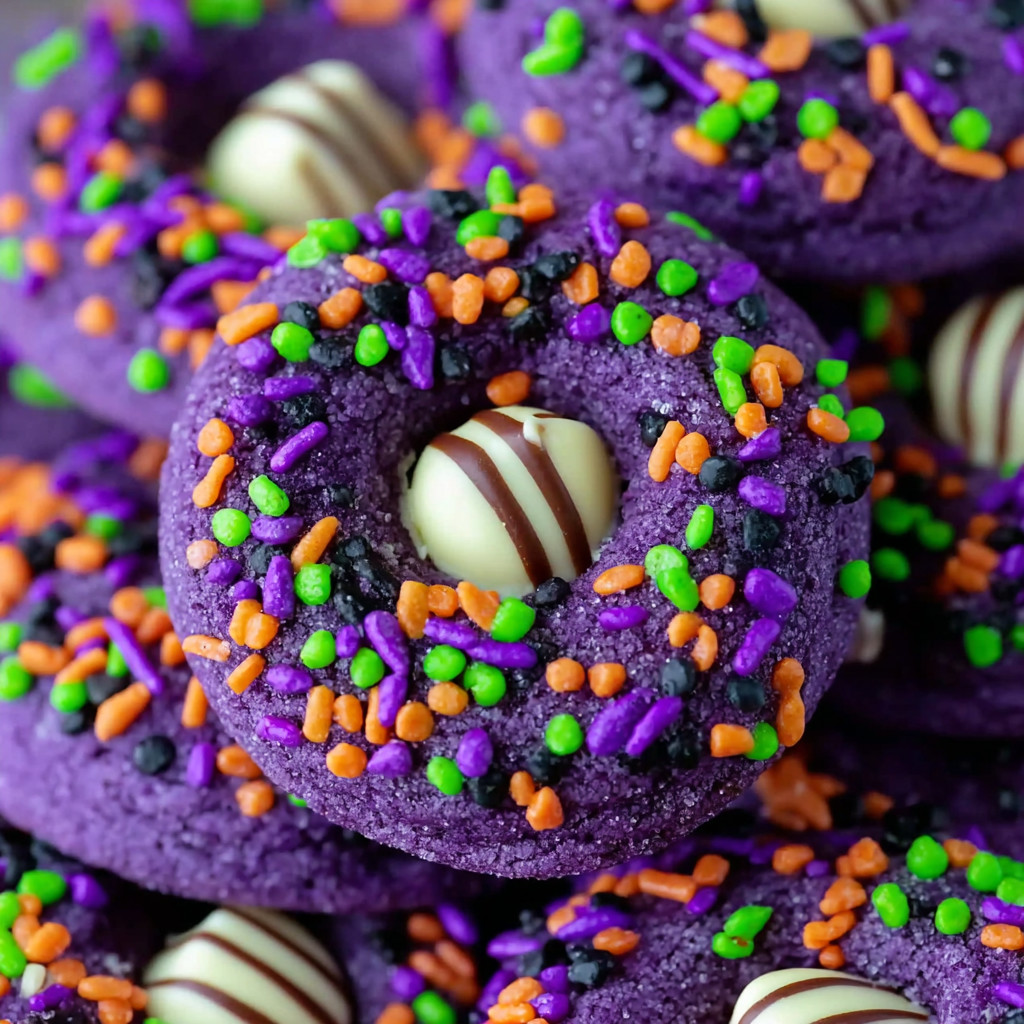
Witch Hat Halloween Cookies bring playful color and festive charm to your Halloween table. Inspired by classic Peanut Butter Blossoms these soft chewy cookies get a spooky makeover with vivid gel food coloring and a crown of chocolate candies. If you love treats that are as eye catching as they are delicious you will adore making these with your family or friends.
The first time we dyed Peanut Butter Blossoms purple my youngest declared them “magic” and insisted on adding extra sprinkles. Now it is our Halloween baking tradition.
Ingredients
- All purpose flour: creates a sturdy yet tender base for the cookies. Spoon and level for accuracy
- Cornstarch: keeps the cookies extra soft and helps them stay chewy for longer
- Baking soda and baking powder: provide lift and the classic blossom cookie texture
- Salt: enhances all the flavors without making the cookies taste salty
- Unsalted butter: brings moisture and rich flavor. Make sure it is at room temperature for easy creaming
- Creamy peanut butter: is the star and gives the cookies their classic taste and texture
- Granulated sugar: sweetens the dough and helps with a crisp edge
- Egg: binds the dough and adds richness. Use at room temperature for best texture
- Vanilla extract: rounds out the flavor. Real vanilla makes a difference here
- Purple or violet gel food coloring: adds bold color that stays vibrant after baking. Saturated gels work better than liquid food dye
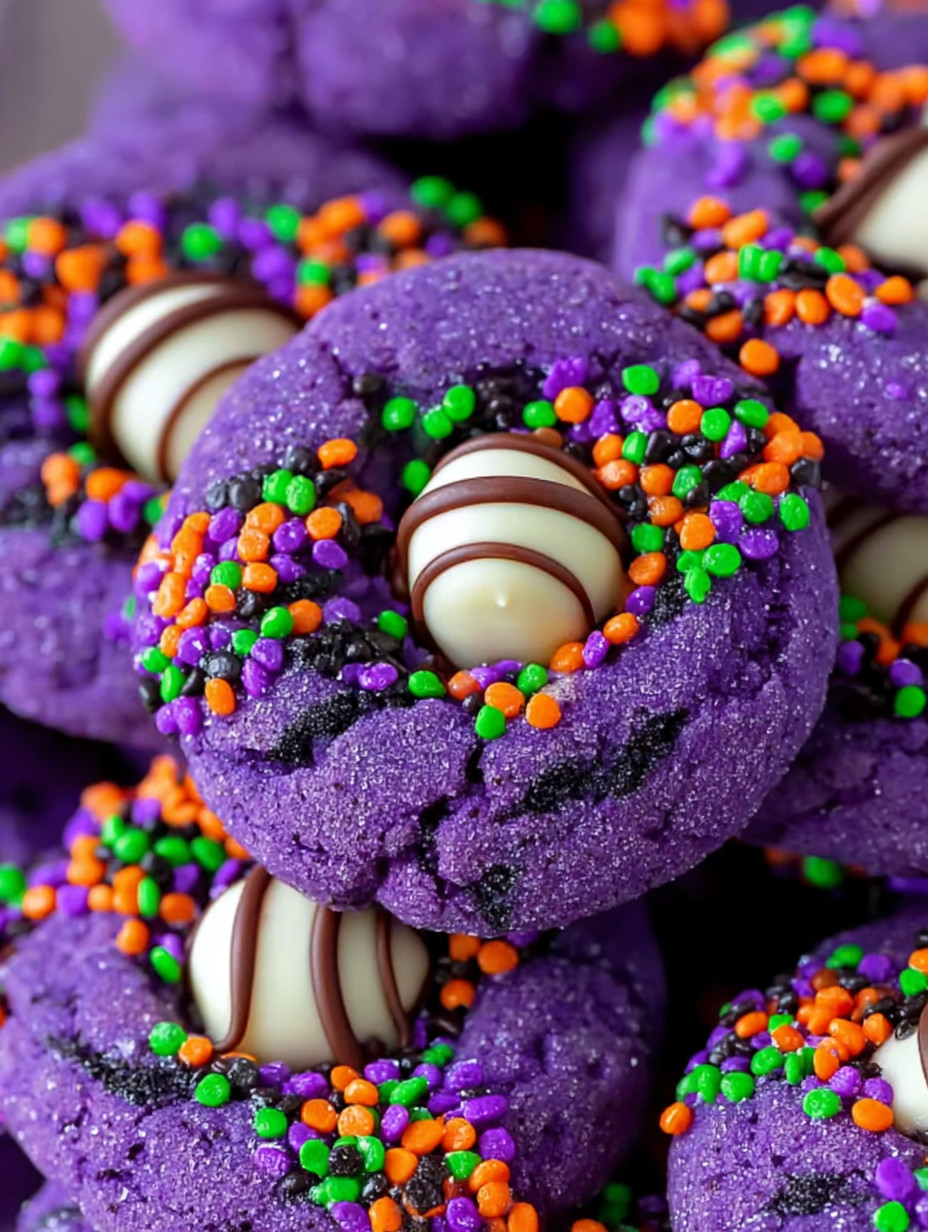
- Purple sanding sugar or Halloween sprinkles for rolling the dough: adds sparkle and crunch. Look for small sized sprinkles for best results
- Hershey Kisses or Hugs: create the witch hat tip. Unwrap in advance so you are ready to press them in while the cookies are hot
Step-by-Step Instructions
- Mix the Dry Ingredients:
- In a medium bowl whisk together the flour cornstarch baking soda baking powder and salt. This ensures everything is evenly distributed before you mix with the wet ingredients
- Cream the Butter and Sugar:
- In a large bowl use a hand or stand mixer to beat the room temperature butter with the granulated sugar for three to four minutes until pale and fluffy. Creaming well gives the cookies their light tender crumb
- Add Egg Vanilla and Peanut Butter:
- Crack in the egg and pour in the vanilla extract. Mix just until blended then add the creamy peanut butter and beat again until fully incorporated
- Combine Wet and Dry Ingredients:
- Add the flour mixture to the butter mixture in two or three additions mixing on low just until combined. Scrape down the bowl with a spatula so there are no streaks of flour
- Add Food Coloring:
- Start with a small amount of gel coloring and blend in well. Add more as needed until the dough is a deep rich purple. Take your time so the color is even
- Chill the Dough:
- Cover the dough with plastic wrap and refrigerate for at least thirty minutes. This makes it easier to scoop and roll and helps the cookies hold their shape in the oven
- Preheat Oven and Prepare Baking Sheets:
- Set your oven to three hundred fifty degrees Fahrenheit and line baking sheets with parchment paper. This prevents sticking and speeds up cleanup
- Shape and Roll the Cookies:
- Scoop tablespoon sized balls of dough and roll between your palms until smooth. Roll each ball in purple sanding sugar or sprinkles for a festive finish
- Bake the Cookies:
- Arrange the dough balls on the baking sheets about two inches apart. Bake for eight to ten minutes until the cookies are just set and lightly puffed
- Add Kisses or Hugs:
- While cookies are still warm gently press a chocolate Kiss or Hug into the center of each cookie. The heat will melt the base of the chocolate just enough to stick
- Set Cookies in Freezer:
- Place the baking sheet in the freezer for ten minutes. This keeps the chocolate from melting or losing its shape
- Cool Completely:
- Transfer the cookies to a wire rack to cool. Enjoy once the chocolate is firm and the cookies are fully set
 Pin
Pin
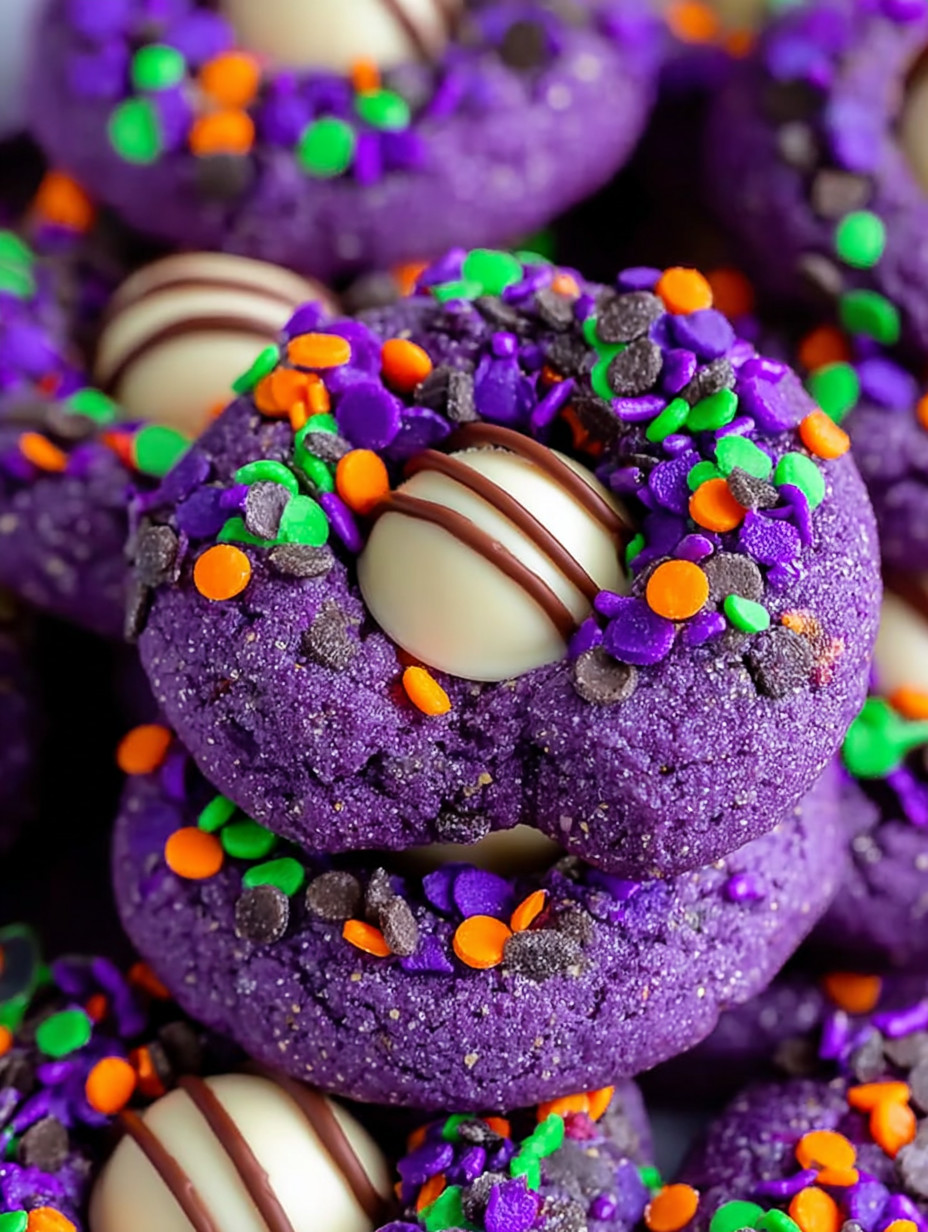
Peanut butter always makes these cookies rich and comforting but seeing the burst of color on the tray makes them stand out. Last year we tried orange and green too and everyone had a friendly debate over the best “witch hat” color at our costume party.
Storage Tips
Store Witch Hat Halloween Cookies in an airtight container at room temperature for up to four days. If you need to keep them longer you can freeze the cookies after baking once fully cooled. Layer between sheets of wax or parchment paper so the kisses or hugs do not stick together. Thaw at room temperature before serving.
Ingredient Substitutions
You can use any color of gel food coloring to match your party theme. If you are out of cornstarch you can skip it but the cookies will be just a bit less soft. Any creamy peanut butter works though Skippy Naturals gives great flavor without splitting. For a nut free version consider using sunflower seed butter but keep in mind the flavor will change slightly.
 Pin
Pin
Serving Suggestions
Pile Witch Hat Cookies high on a spooky platter and sprinkle with extra Halloween candy for a festive centerpiece. These cookies pair perfectly with warm apple cider or hot chocolate for a kid friendly treat. If you want even more Halloween flair serve alongside other themed sweets like Pumpkin Popcorn Balls or Black Widow Brownie Bites.
Cultural and Family Traditions
Witch Hat Halloween Cookies are a modern twist on the iconic Peanut Butter Blossom a treat that has graced holiday tables since the 1950s. My own family looks forward to “witch hat decorating day” every October and it is a wonderful way to get everyone laughing and working together in the kitchen.
Frequently Asked Questions About the Recipe
- → How do I keep the cookies soft after baking?
Make sure not to overbake the cookies; 8 to 10 minutes is sufficient for a tender center. Using cornstarch in the dough helps maintain softness.
- → Can I use other colors besides purple?
Yes, the dough can be tinted with any gel food coloring. Bright shades like green or orange work well with the peanut butter base.
- → What is the purpose of chilling the dough?
Chilling firms the dough, making it easier to roll in sugar or sprinkles and helps cookies keep their shape during baking.
- → How should I store baked cookies to maintain freshness?
Store in an airtight container at room temperature for up to 4 days. For longer storage, freezing is recommended.
- → Can I freeze the cookie dough before baking?
Yes, roll the dough into balls and flash freeze them before placing in a freezer-safe bag. Thaw overnight before baking or bake directly from frozen with a slight time adjustment.
- → Why is peanut butter important in this dough?
Peanut butter adds rich flavor and moisture, contributing to the soft and chewy texture of the cookies.