
 Pin
Pin
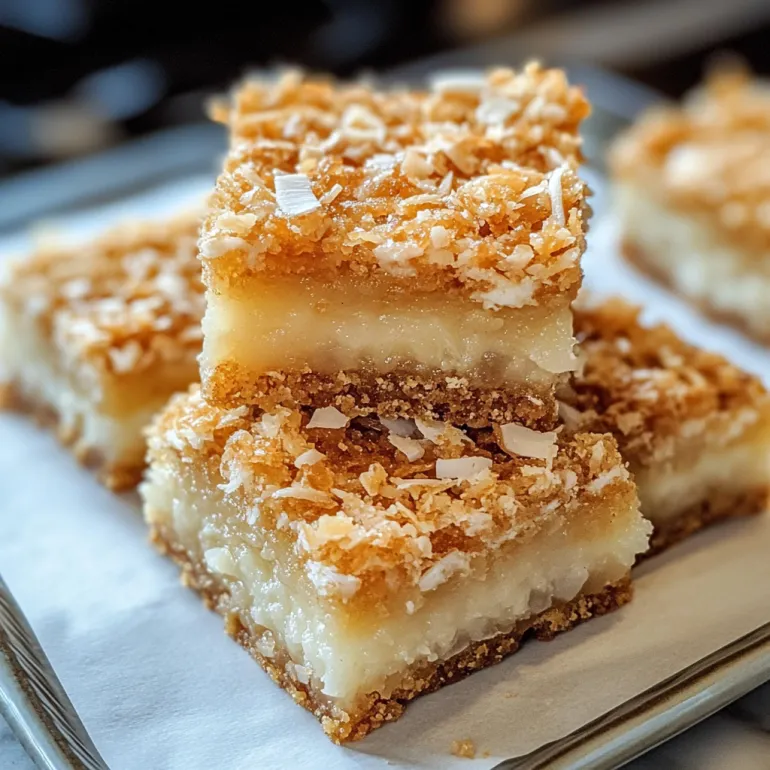
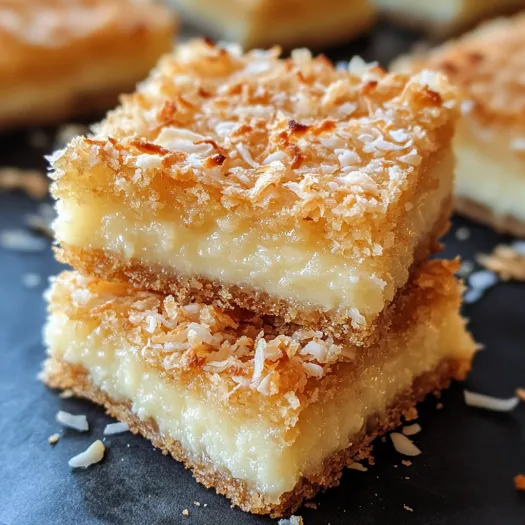
This indulgent coconut bar recipe transforms simple ingredients into an irresistible treat with a perfect balance of chewiness and subtle sweetness. The marshmallows create that distinctive texture that makes these bars truly special.
I first made these coconut bars for a beach themed party, and they disappeared faster than any other dessert. Now they're my secret weapon whenever I need to bring something impressive but deceptively simple to gatherings.
Ingredients
- Unsalted butter creates the rich foundation for these bars while allowing the coconut flavor to shine
- Mini marshmallows are the secret to achieving that perfect chewy texture that makes these bars irresistible
- Granulated sugar provides just the right level of sweetness without overpowering
- Eggs bind everything together while contributing to the soft interior
- Vanilla extract preferably Dominican style which offers a deeper more complex flavor profile
- Salt enhances all the other flavors and balances the sweetness
- Unsweetened coconut flakes deliver authentic coconut flavor without making the bars too sweet
- Sifted allpurpose flour gives structure while keeping the texture light
Step-by-Step Instructions
- Prepare the oven
- Preheat your oven to 325°F. This moderate temperature allows the bars to cook evenly without the edges becoming too crisp before the center sets.
- Create the base
- Melt the butter and marshmallows together in a saucepan over low heat. Stir constantly to prevent burning and ensure they melt into a smooth mixture. This creates the chewy foundation that makes these bars special.
- Mix the wet ingredients
- In a mixing bowl, thoroughly combine sugar, eggs, vanilla extract, and salt. Beat until the mixture becomes slightly lighter in color. This incorporates air and helps create the perfect texture.
- Combine wet mixtures
- Gradually pour the melted butter and marshmallow mixture into the sugar mixture while mixing continuously. The warm mixture will slightly dissolve the sugar, creating a silky consistency.
- Add dry ingredients
- Fold in the coconut flakes and sifted flour until just combined. Avoid overmixing which can make the bars tough. The batter should be thick but spreadable.
- Prepare and fill the pan
- Line your baking pan with parchment paper, leaving overhang on the sides for easy removal. Spread the dough evenly, pushing it into the corners and smoothing the top.
- Bake to perfection
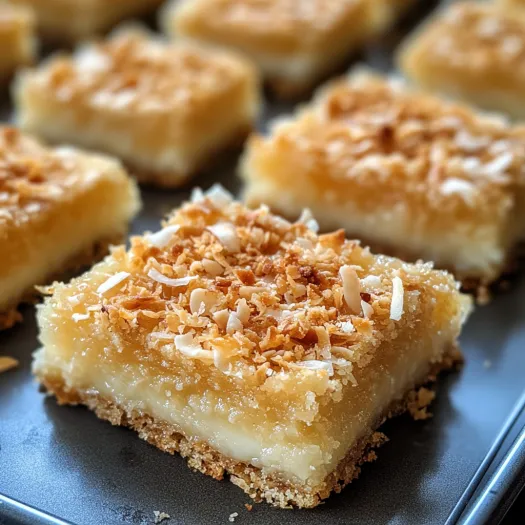
- Bake for 20-25 minutes until the top turns golden and a knife inserted in the center comes out clean. The edges might look slightly more done than the center, which is perfect.
- Cool and serve
- Allow the bars to cool completely in the pan before lifting out using the parchment paper. Cut into squares or rectangles and serve at room temperature.
 Pin
Pin
The coconut flakes are truly what make this recipe special. I remember watching my grandmother toast coconut for her version of these bars, filling the kitchen with the most incredible aroma. While this recipe uses untoasted coconut for maximum chewiness, the memory of that smell always makes me smile when I bake these.
Storage Tips
These coconut bars keep beautifully at room temperature in an airtight container for up to 5 days. The texture actually improves after the first day as the flavors meld together. If you need to store them longer, refrigerate for up to 10 days. Just bring to room temperature before serving for the best texture.
Substitution Options
For dietary restrictions, you can adapt this recipe in several ways. Replace the butter with coconut oil for a dairy-free version that enhances the coconut flavor. If marshmallows are a concern, substitute with 3 tablespoons of honey or maple syrup, though the texture will be slightly different. For a gluten-free option, substitute the all-purpose flour with a 1:1 gluten-free baking blend.
Flavor Variations
While the classic version is perfect, these bars welcome creative additions. Fold in 1/2 cup of chocolate chips for a coconut-chocolate combination. Add 1/4 cup of finely chopped crystallized ginger for a sophisticated twist. For tropical flavor, mix in 1/3 cup of finely diced dried pineapple or mango. Each variation maintains the chewy texture while offering a different flavor profile.
Serving Suggestions
These versatile bars shine in multiple settings. For an elevated dessert, warm slightly and serve with a scoop of vanilla ice cream and a drizzle of caramel sauce. They pair beautifully with afternoon coffee or tea. For a special brunch offering, cut them into smaller pieces and arrange on a platter with fresh berries. They also make wonderful gifts, wrapped in parchment and tied with ribbon.
 Pin
Pin
Frequently Asked Questions About the Recipe
- → Can I use sweetened coconut flakes instead of unsweetened?
Yes, you can use sweetened coconut flakes, but you might want to reduce the sugar by about 1/4 cup to balance the sweetness. Sweetened flakes will also produce a slightly more moist and sweet final product.
- → How should I store these coconut bars?
Store the bars in an airtight container at room temperature for up to 3 days. For longer storage, refrigerate for up to a week or freeze them for up to 3 months. If freezing, separate layers with parchment paper.
- → What does Dominican-style vanilla extract offer?
Dominican-style vanilla extract typically has a richer, more complex flavor profile with subtle caramel notes. Regular vanilla extract works fine as a substitute, but the Dominican style adds an extra depth of flavor to these coconut bars.
- → Can I add chocolate to this coconut bar mixture?
Absolutely! You can add 1/2 cup of chocolate chips to the batter or drizzle melted chocolate over the top after baking. Semi-sweet or dark chocolate pairs particularly well with the coconut flavor.
- → How do I know when the coconut bars are done baking?
The bars are done when the top is golden brown and a knife inserted into the center comes out clean or with just a few moist crumbs. The edges might look slightly more done than the center, which is perfect for achieving that ideal chewy texture.
- → Can I make these coconut bars gluten-free?
Yes, you can substitute the all-purpose flour with a gluten-free flour blend at a 1:1 ratio. Make sure your gluten-free flour contains xanthan gum, or add 1/4 teaspoon to help with binding.