
 Pin
Pin
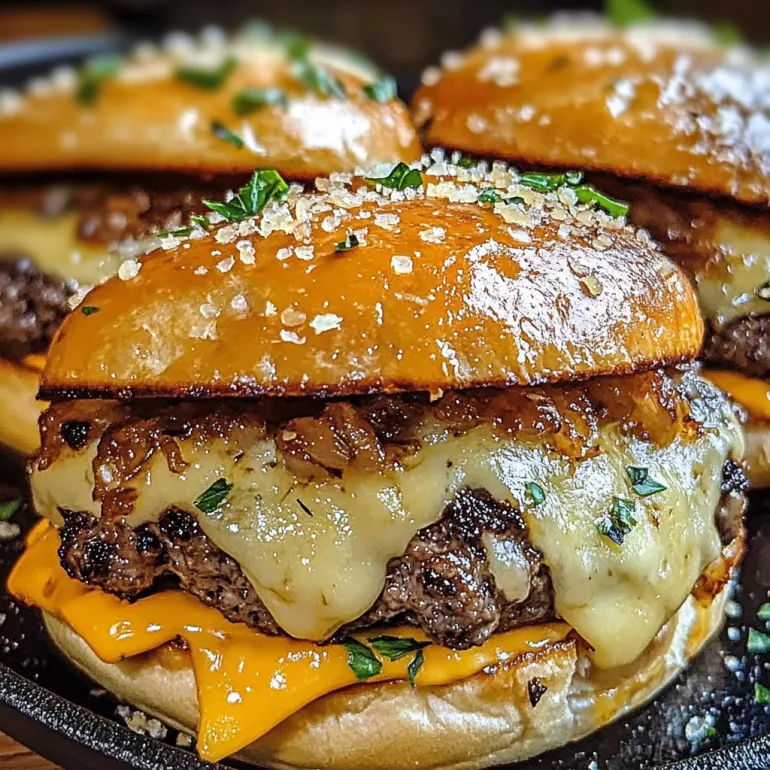
This garlic parmesan cheeseburger bomb recipe transforms classic burger ingredients into bite-sized pockets of pure comfort food bliss. The combination of seasoned ground beef, melty cheddar, and crispy bacon all wrapped in buttery biscuit dough creates an irresistible appetizer that disappears fast at any gathering.
I first made these for a Sunday football watch party, and they've become the most requested appetizer in our house. My teenage son now asks for these instead of regular burgers, claiming they're the perfect ratio of meat to cheese to bread.
Ingredients
- Ground beef: forms the hearty base and provides that classic burger flavor
- Cheddar cheese: melts beautifully into the meat mixture creating pockets of gooey goodness
- Parmesan cheese: adds a nutty complexity both inside and as a crispy coating
- Refrigerated biscuit dough: saves time while providing the perfect vessel for the filling
- Bacon: brings smokiness and that irresistible crispy texture contrast
- Garlic powder: infuses the butter with aromatic depth
- Melted butter: creates that golden brown exterior while adding richness
- Salt and pepper: balance and enhance all the flavors
Step-by-Step Instructions
- Prepare the Oven:
- Preheat your oven to 375°F. This moderate temperature ensures the biscuits cook through without burning while allowing enough time for the filling to heat thoroughly.
- Brown the Beef:
- Cook ground beef in a skillet over medium heat until no pink remains, breaking it into small crumbles as it cooks. Drain off excess fat to prevent soggy bombs. Season generously with salt and pepper to build your flavor base.
- Create the Filling:
- Add the crispy bacon pieces and cheddar cheese to the hot beef. Stir continuously until the cheese begins to melt and incorporate with the meat. This step creates that cohesive filling that stays together when you bite into it.
- Prepare the Dough:
- Take each refrigerated biscuit and split it into two equal halves by gently pulling apart or using a knife. This creates thinner pieces that will cook evenly and wrap better around the filling.
- Form the Bombs:
- Place a generous tablespoon of filling onto each biscuit half. Carefully fold the edges up and around the filling, pinching firmly to seal completely. Roll between your palms to ensure there are no openings where cheese could leak out.
- Add the Flavor Coating:
- Brush each sealed bomb generously with melted butter, then sprinkle with garlic powder and grated Parmesan. The butter helps achieve that golden exterior while the cheese creates an irresistible crispy crust.
- Bake to Perfection:
- Arrange the bombs on a parchment-lined baking sheet with at least an inch between each. Bake for 15-20 minutes, rotating the pan halfway through, until deeply golden brown and the biscuit dough is completely cooked.
- Serve While Hot:
- Allow the bombs to cool for 3-5 minutes before serving to prevent burned mouths from the molten cheese interior. The best experience comes when they're still warm and the cheese is stretchy.
 Pin
Pin
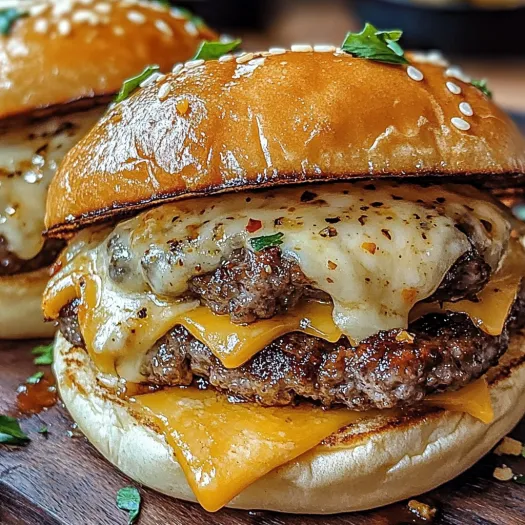
The real secret to these bombs is in the contrast between the crispy, garlic-parmesan exterior and the juicy, cheese-laden interior. My family loves watching the cheese stretch as you pull them apart. That moment when the filling is revealed feels like opening a delicious present every time.
Make-Ahead Options
These cheeseburger bombs work beautifully as a make-ahead appetizer. You can prepare the filling and assemble the bombs up to 24 hours before baking. Simply store them covered in the refrigerator on a baking sheet. When ready to serve, brush with the garlic butter mixture and sprinkle with Parmesan just before baking. You may need to add 3-5 minutes to the baking time if cooking from cold.
Creative Variations
The basic recipe serves as an excellent template for countless variations. Try mixing in diced pickles and a touch of ketchup for a classic cheeseburger flavor. For a mushroom Swiss version, sauté mushrooms until golden and substitute Swiss cheese for the cheddar. Jalapeños and pepper jack create a spicy kick, while blue cheese and caramelized onions offer a gourmet twist. The possibilities are endless once you master the basic technique.
Serving Suggestions
While these bombs are delicious on their own, they shine even brighter with complementary sides. Serve with small ramekins of ketchup, mustard, and ranch for dipping. A simple green salad with vinaigrette helps balance the richness. For a full meal, pair with sweet potato fries or a cup of tomato soup. At parties, I arrange them on a platter surrounded by pickle spears, cherry tomatoes, and lettuce cups for guests who want to create mini burger bomb salads.
 Pin
Pin
Frequently Asked Questions About the Recipe
- → Can I make these cheeseburger bombs ahead of time?
Yes! You can prepare the filling and assemble the bombs up to 24 hours ahead. Store them covered in the refrigerator, then brush with butter and sprinkle with garlic Parmesan right before baking. You may need to add 2-3 minutes to the baking time if cooking from cold.
- → What can I substitute for the refrigerated biscuit dough?
If you don't have refrigerated biscuit dough, you can use pizza dough, crescent roll dough, or even homemade biscuit dough as substitutes. Each will provide a slightly different texture but work well for wrapping the filling.
- → Can I freeze these cheeseburger bombs?
Absolutely! Freeze them after assembly but before baking. Place them on a baking sheet until frozen solid, then transfer to a freezer bag. When ready to enjoy, bake from frozen at 375°F for about 25-30 minutes until golden and heated through.
- → What dipping sauces pair well with these bombs?
These garlic Parmesan cheeseburger bombs pair wonderfully with ketchup, mustard, ranch dressing, barbecue sauce, or a special burger sauce made with mayo, ketchup, and relish. A marinara sauce also complements the garlic and Parmesan flavors nicely.
- → How can I tell when the cheeseburger bombs are fully cooked?
The bombs are done when the exterior is golden brown and firm to the touch. The internal temperature should reach at least 165°F to ensure the beef is thoroughly cooked. If you notice them browning too quickly, cover loosely with foil for the remainder of the baking time.
- → Can I add vegetables to the filling?
Yes! Finely diced onions, bell peppers, or mushrooms make excellent additions. Just be sure to sauté them first to remove excess moisture and enhance their flavor. Keep the added vegetables to about 1/2 cup total to prevent the bombs from becoming too wet.